Making moulds was one of those things that I looked at and thought ‘that’s way too complicated, there’s no way I’m touching that’. Just a few months later and I’ve got more moulds made and planned than I know what to do with.
So, if you’ve been looking at mould making and getting a little bit overwhelmed, or confused, let me reassure that it’s not as complicated as you might be thinking. I promise.

What you’ll need:
- Something to mould (preferably a something with a flat bottom)
- Lego type bricks
- Soft silicone (I’m using this one)
- Craft knife
- Hot glue gun
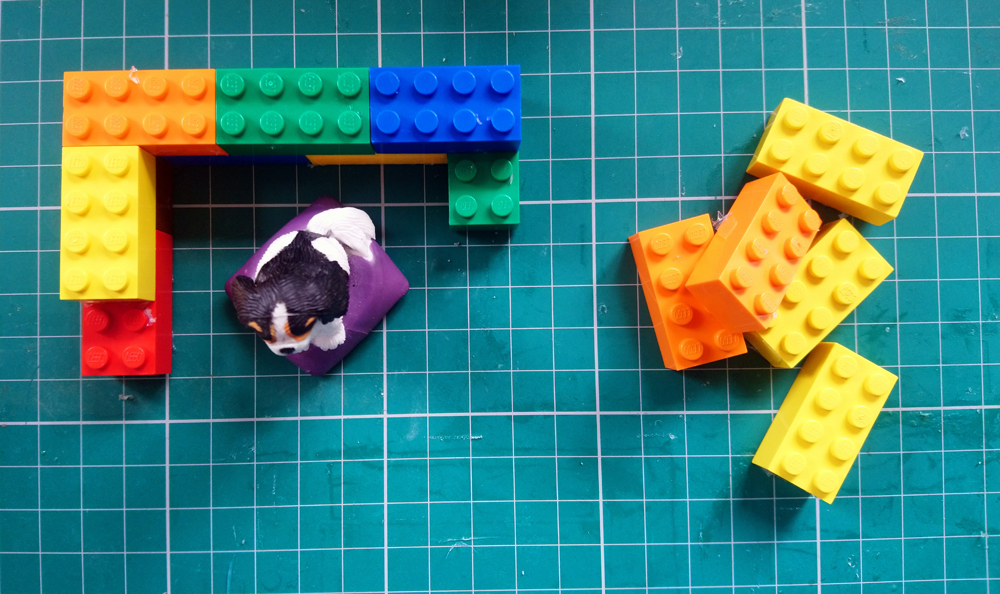
1. To start, while your glue gun is heating up, give whatever you’re going to mould a clean. Trust me. Any dirt, dust, or grime in those crevices, get it out. That stuff sticks into the silicone and ends up sticking to your eventual candles, or resin, or what ever else you’ll be using in the moulds. Grubby candles or resin is not a good look.
2. Now it’s all clean, you get to play with Lego. So, after raiding your kid’s stash or going out and buying a delightfully cheap alternative, start planning your Lego barrier. You’ll want to go two bricks high to begin with. The bricks should be at least one to one and a half cm from the model.
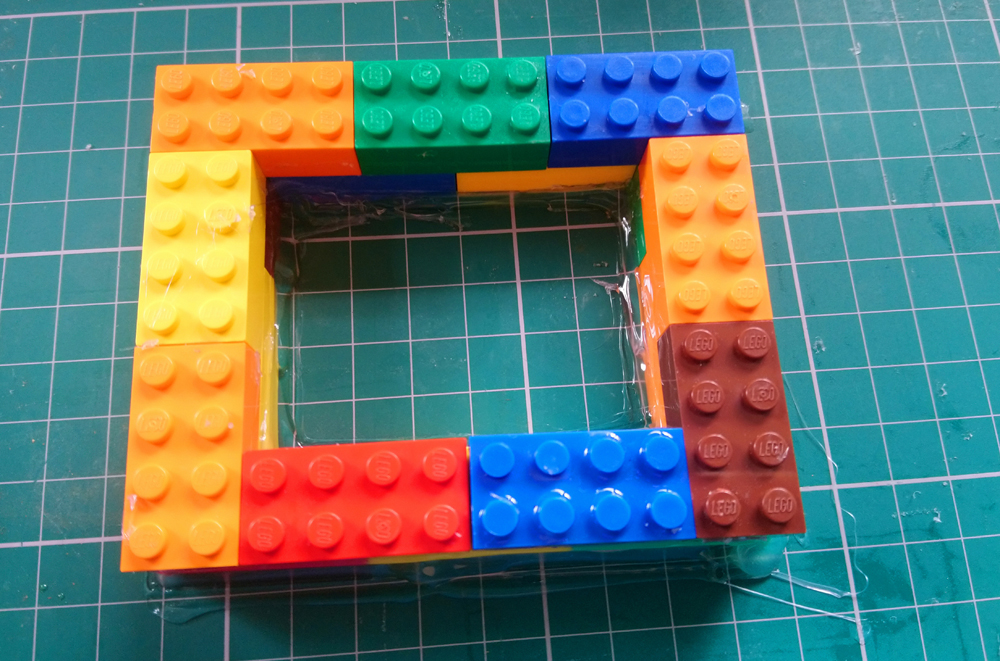
3. Now you’ve got a full barrier stick it to your base by running hot glue along the bottom edges, both inside and out.
I use a cutting mat as a base, which is generally fine if you’re not planning on moving it after the silicone is poured. If you are going to move it, then I’d suggest you put it on a more solid surface first, otherwise you’re likely to get silicone everywhere.
Trust me.
I speak from experience.
…lots and lots of experience.

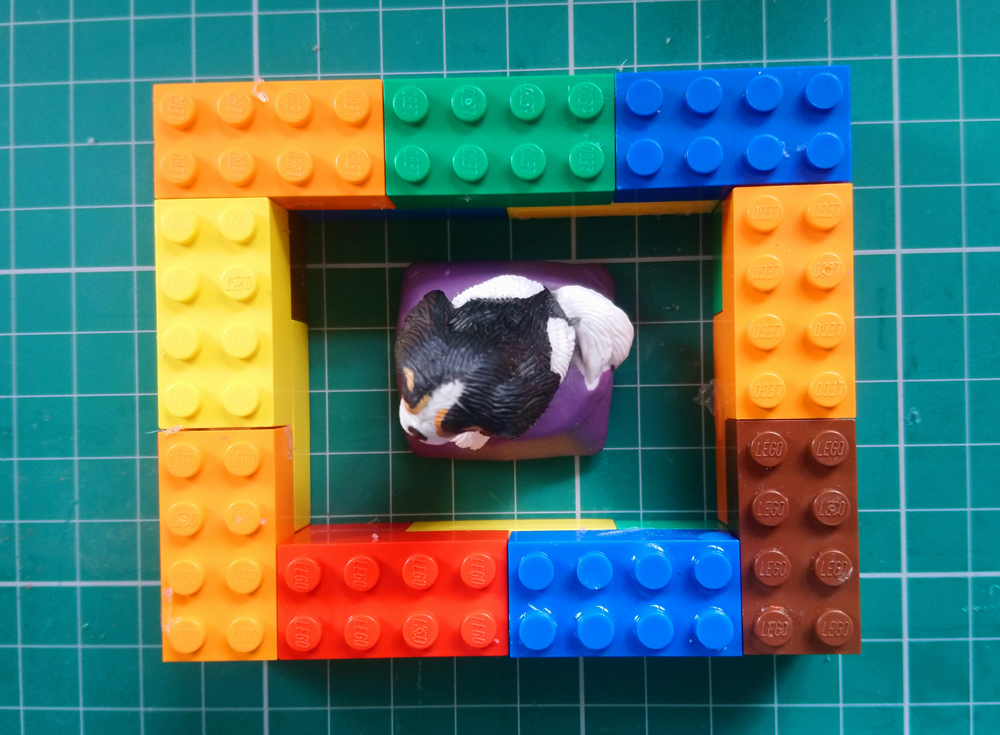
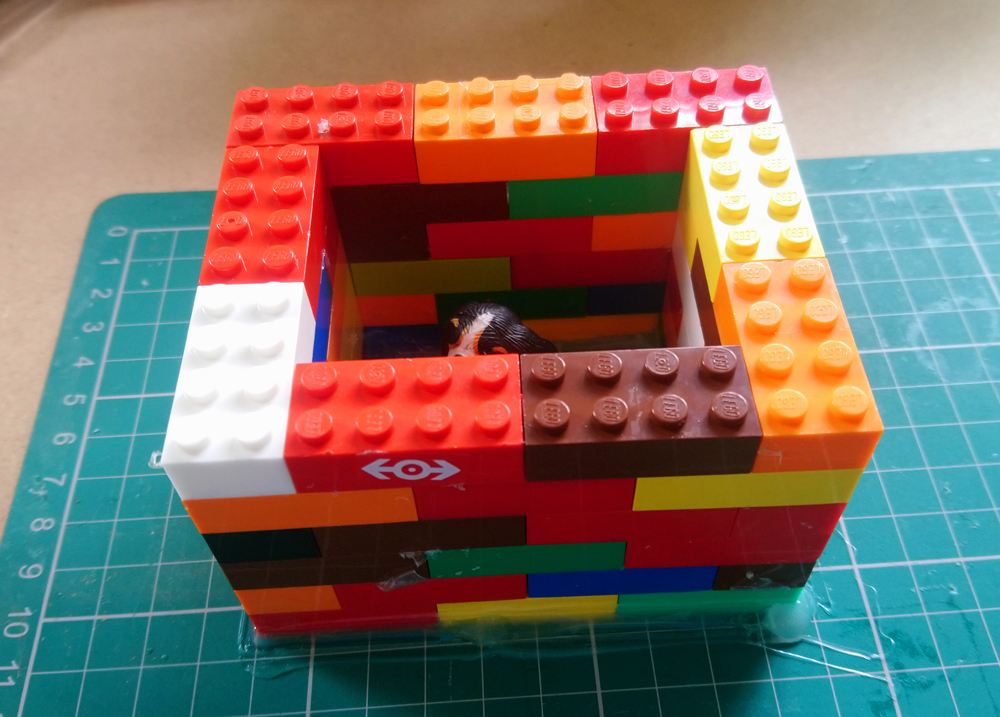
3. With your barrier all glued down, it’s now time to add your mouldable item. Dob some hot glue to the base and stick it within the barrier. You may want to spread the glue a bit before sticking it down, as, in most cases, the area the glue covers is the only area not covered by a layer of silicone.
Once that’s all nicely stuck down, you can build up your walls. You’ll want to be at least one brick higher than whatever you’re moulding, but preferably two if you have enough bricks to spare.
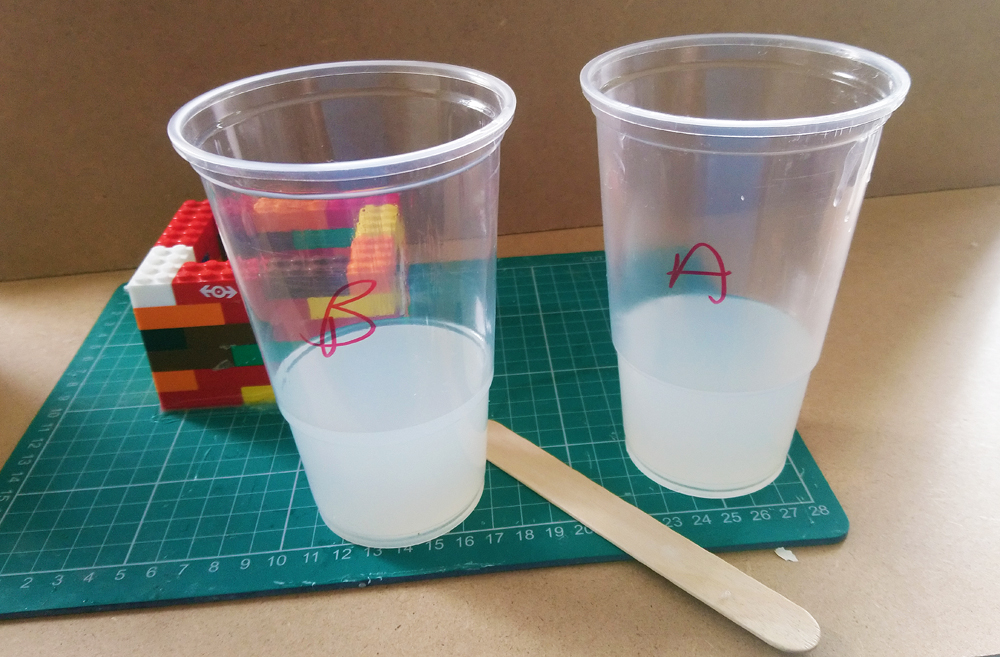
4. Now it’s time for silicone! Follow the instructions to mix it. I like an easy 1:1 ratio silicone, so I tend to use two cups with ridges I can use as a general gauge.
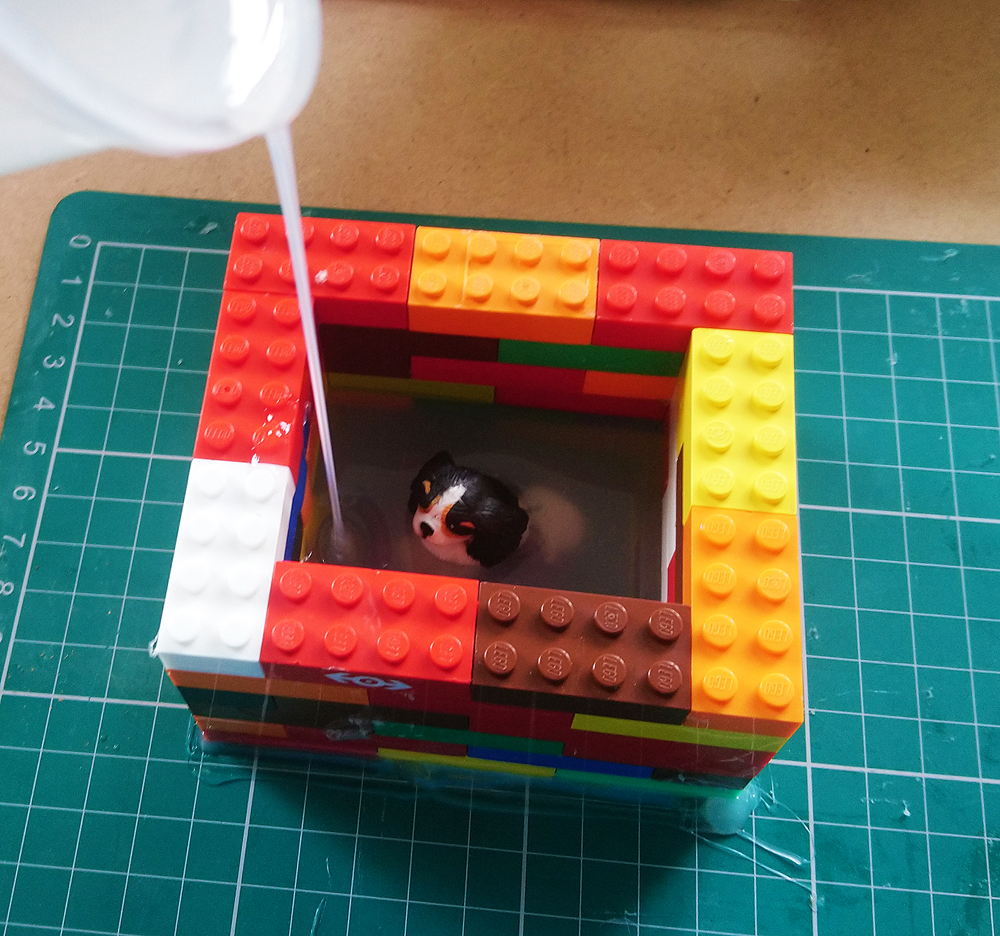
When pouring, it is advisable to do it from a bit of a height, and to pour into a single corner. Do not move from this corner. Both these things help eliminate the worst of any bubbles that have formed.
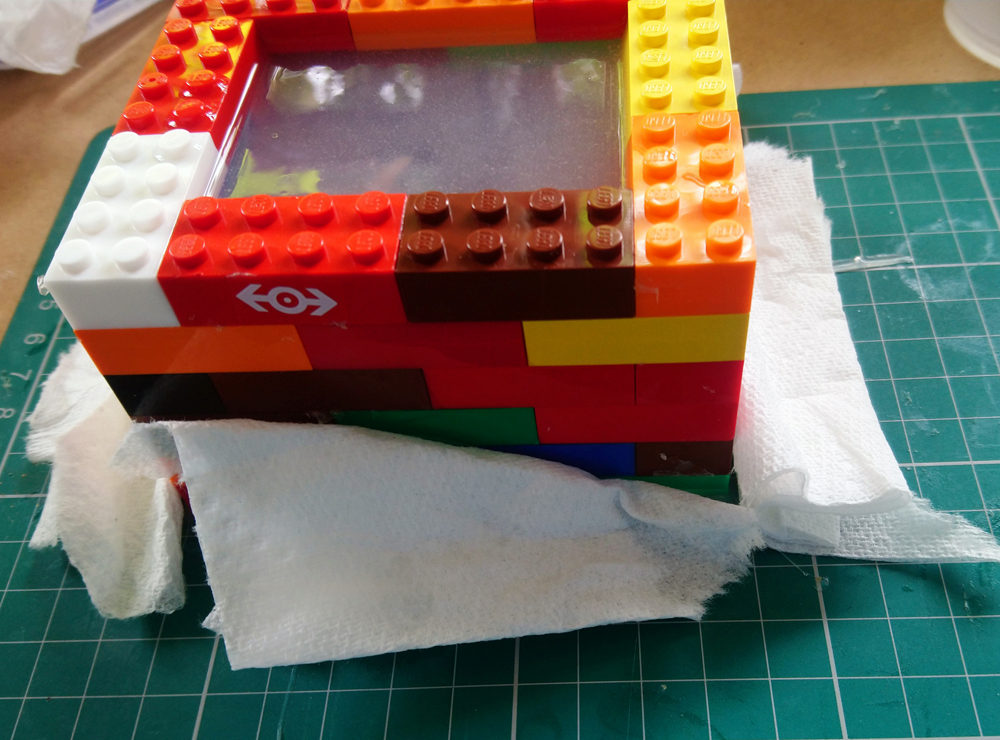
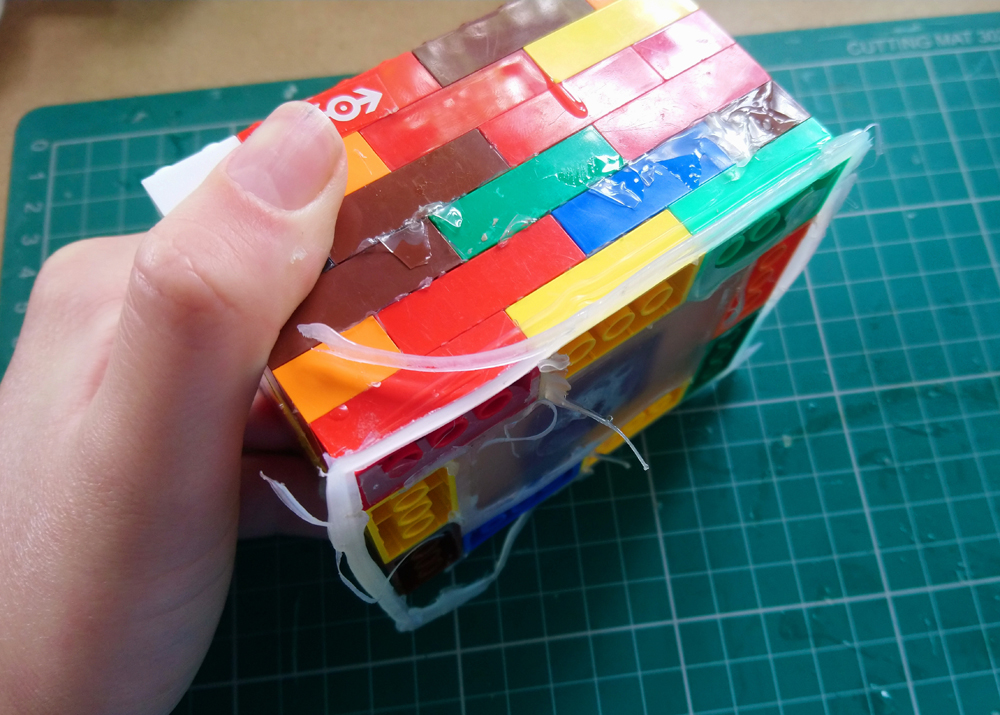
4a. If you’re lucky you’ll not need this step. However, Lego bricks (and their cheaper alternatives) have the unfortunate problem of having slight gaps between the bricks. Silicone adores to test one’s patience by seeping through these gaps. I’ve found the best way to stem the tide is by sticking a bunch of tissue against the worst leaks…kind of like a bloke sticking little squares of tissue to his face when he nicks it shaving. It’s not a pretty solution, but it’s one that works.
5. Depending on the weather, silicone can take a few hours to dry. Check the write up on whatever silicone you’re using, and leave it for the time it says.
Don’t touch it.
No matter how tempting it looks to poke.
You will regret it and have an unpleasantly sticky finger to show for it.
(Trust me, I’ve done this before…more than once)
When it is dry, pull off any tissue you had to shore up the sides with, and pull the whole thing off of the mat if you can.
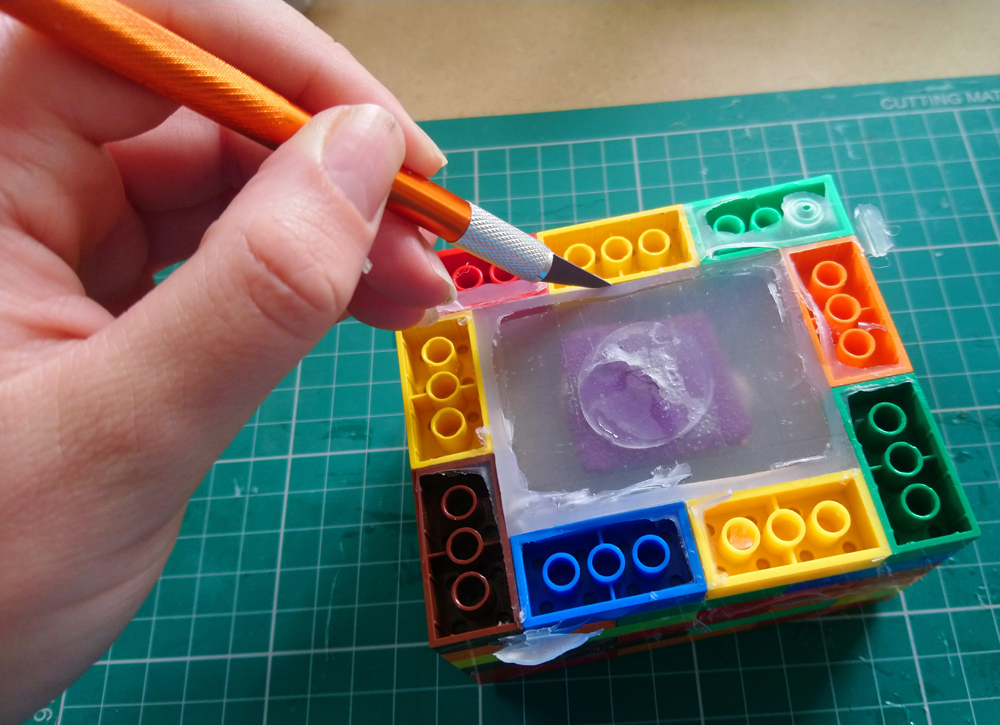
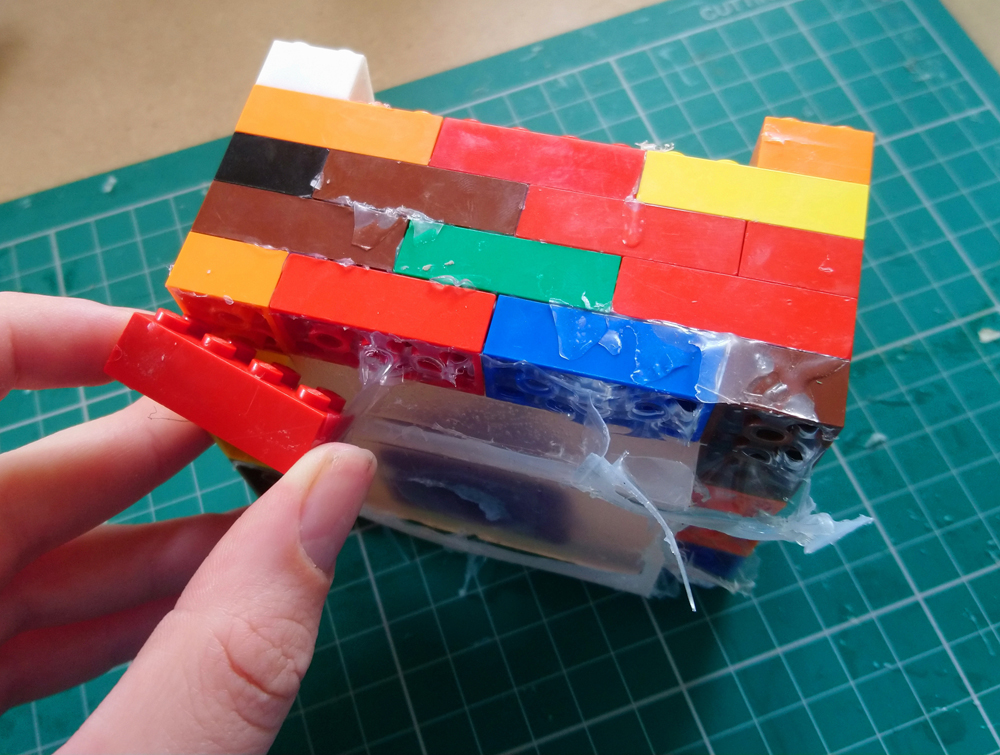
6. Now, with a craft knife, or stanley knife, carefully cut the inner edges to help both the glue and silicone to come away from the bricks, then start breaking down your wall.
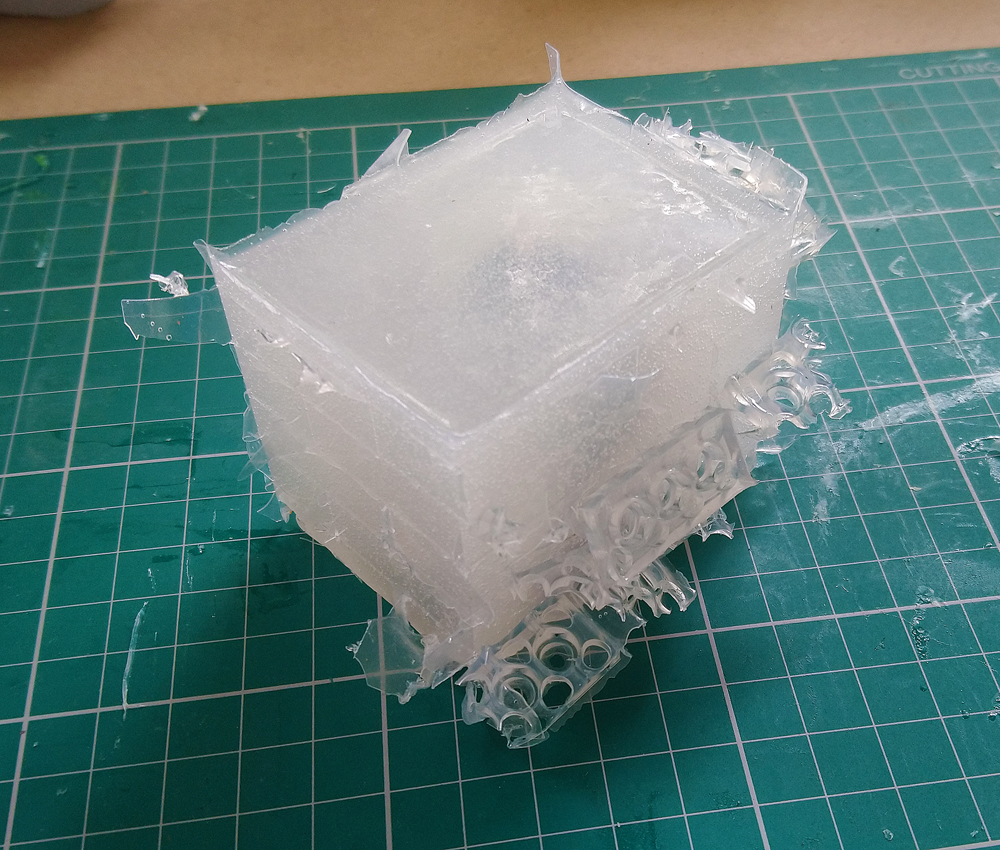
7. You’ll end up with a scruffy block that looks like the picture below. Pull all those extra bits off to make your block a bit neater, or leave them on, your choice really.
Now it’s time for a bit of slicing.
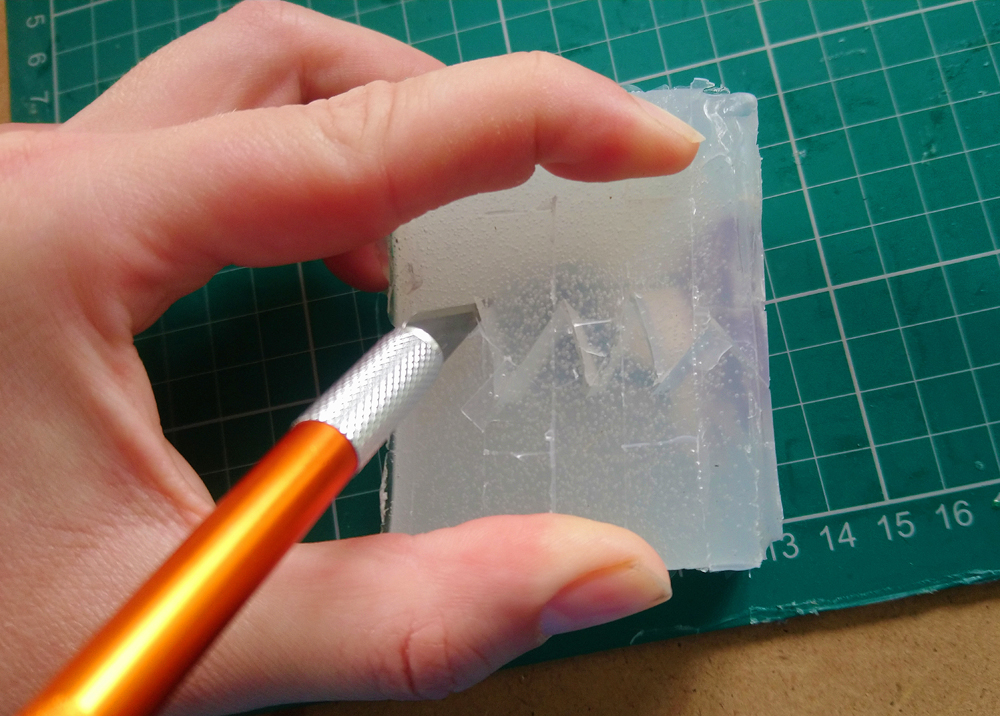
WARNING – please be very very careful with this next stage of the process. It is very easy to cut yourself if your attention slips even for a moment. So please be careful, I don’t want you cutting yourself.
Take your knife and cut a zigzag line down the side of your mould, this is generally down the back of whatever you’re moulding. DO NOT go all the way down to your item.
This zigzag is called a ‘key’, and it’ll help make sure your mould lines up properly at the end. Though not as important in a single mould as in a two piece, I still find it helpful in keeping everything lined up.
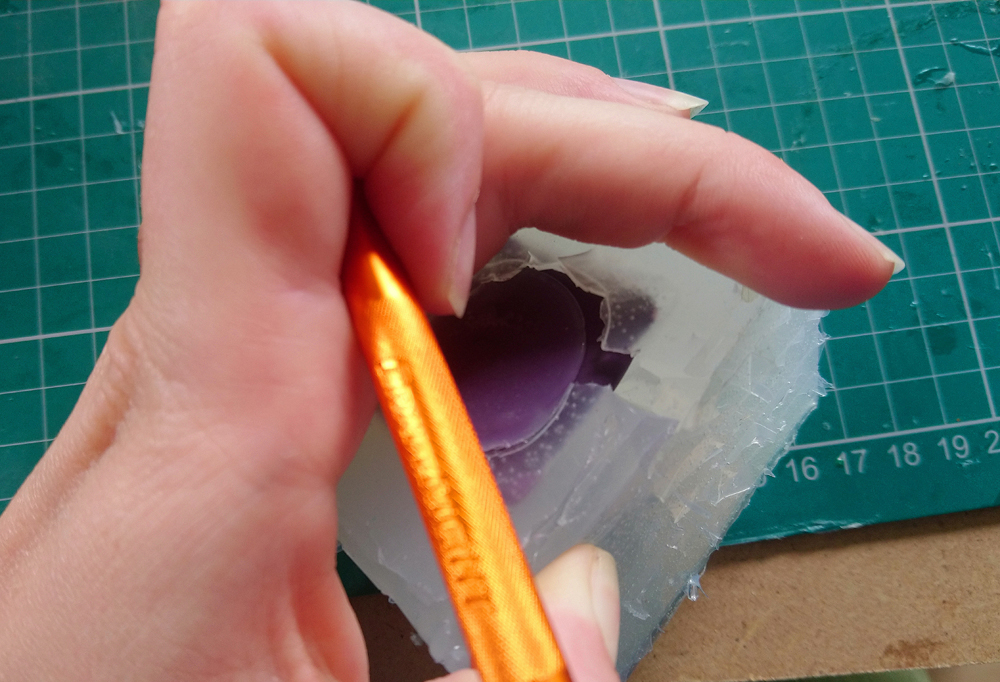
8. With your key cut, now you need to cut all the way down to your item, keeping the line as straight as you can. This is a bit fiddly, and can be quite frustrating, but start at the bottom opening, and take your time to work to the top.
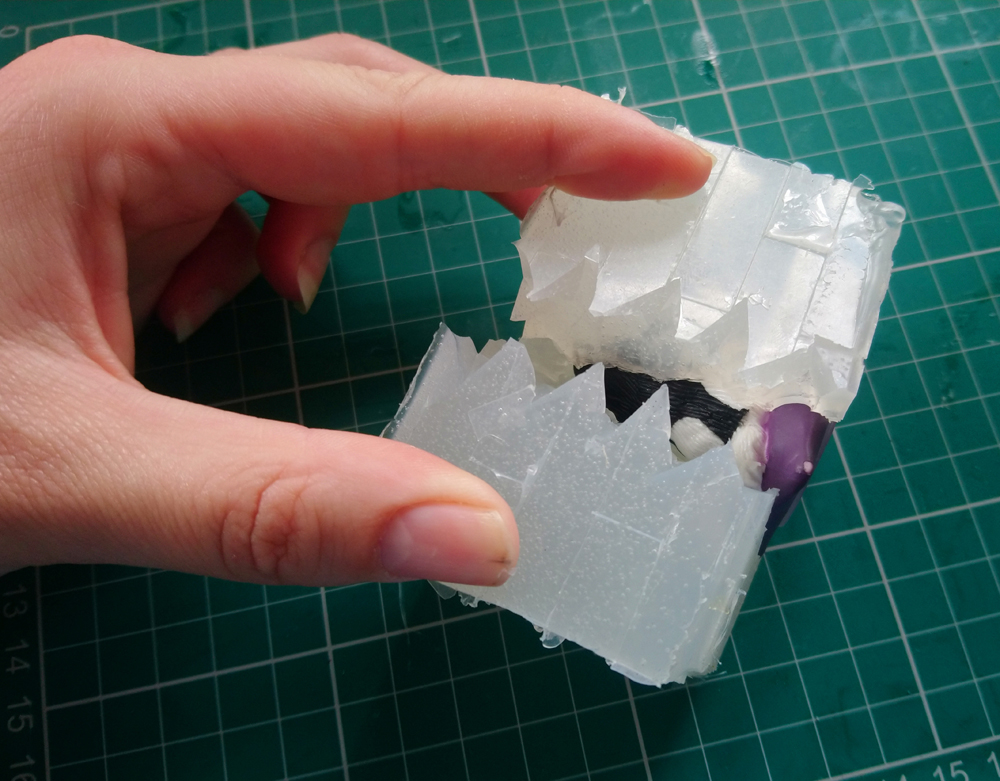
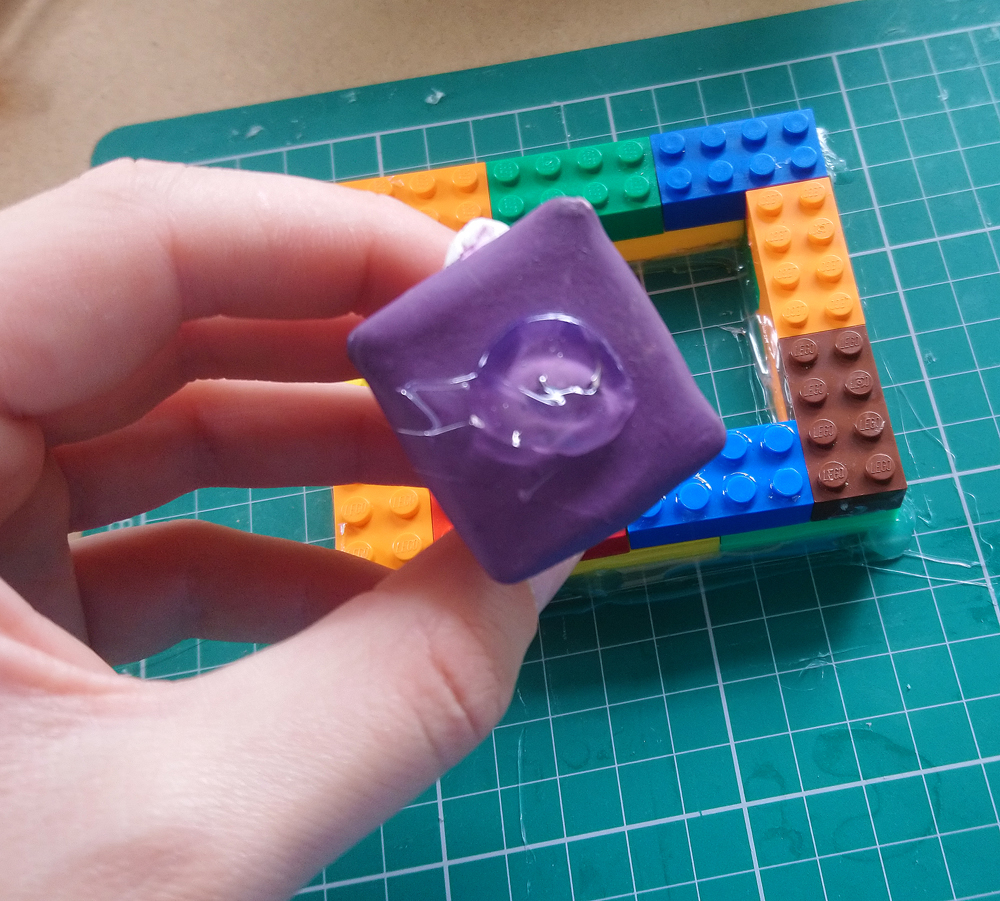
9. Once you’ve carefully sliced up to the top, remove your item and voila! One mould ready to be used.
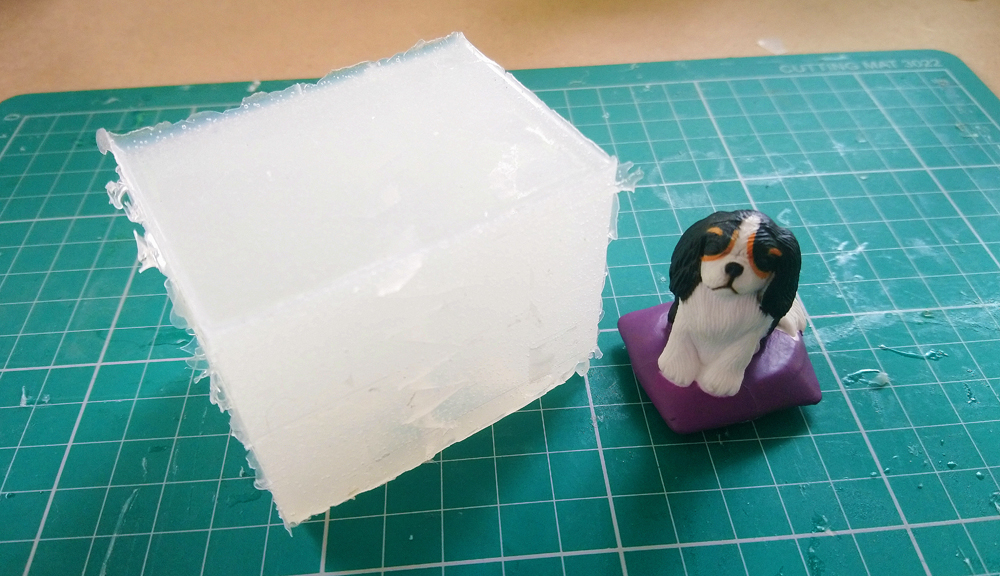
So, sound simple enough? Trust me, once you get the hang of it, these things are easy and you’ll be hunting through the house for more things to mould.