While carrying out my usual evening routine of sipping at a mug of tea and scrolling through Pinterest, I came across a post about making candles out of cookie cutters.
Obviously that went straight into my candle board for me to have a play about with later, and that was what this post was originally going to be about.
…but I’ve misplaced my cookie cutters. I know I’ve got some, since I bought them a while ago for a needle felting experiment, I just can’t find them. They’re in that mysterious dimension commonly known as ‘A Safe Place’.
In my rummaging, however, I came across this rubbery blue thing that I had a vague recollection of buying with the thought of ‘oh that’s interesting, I’m sure I could do something with it’, and then promptly forgot about.
This blue almost-sphere is an ice cube mould of the Death Star. Quite frankly it’d make a bloody massive ice cube that I’m not sure most glasses would be able to handle, but I thought it might make a nice sized candle.
Would it work?
No idea.
I mean, there’s some posts and the odd tutorial on Pinterest that suggests it should work. But I’ve only ever made one candle before, and that was a tea cup candle.
This…well, this was a whole different kettle of fish.
But it worked…kinda.
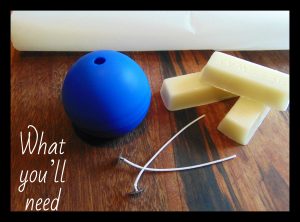
- Death Star ice cube mould (they’re available on amazon, ebay, I even found one on Etsy, or, like I did, you can find it on the shopping app, Wish)
- Wax (I’m using white beeswax from Livemoor, but any wax should do)
- Wicks (again mine are from Livemoor (they have free delivery so, obviously, I bought in bulk))
- A bit of greaseproof paper
- A saucepan
- A bowl, mug, tin, or jug to melt the wax in
- A lolly stick or coffee stirrer
- Knife (only needed if you’ve got blocks of wax, not flakes)
- Tea towel or oven mitt
- A container with a spout (this is only needed if you’re not using a jug to melt your wax in, I used a disposable hot drinks cup, since it’s easy to bend and pour with)
What we’ll be doing;
1. First things first, gather all your items together. I know that seems like a bit of a ‘well duh’ thing to say, but I got half way through melting my wax before realising I didn’t have the cup I needed to pour it with. So, gather all the stuff you need.
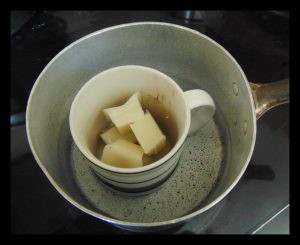
2. If you’ve got blocks of wax, like I do, then chop them up into smaller chunks and pop them in your pot of choice. I used 3 blocks in total, each broken up into 3 chunks, but I’d advise you make them smaller, melts quicker that way.
3. Fill a saucepan with about 3cm/1inch of water (if you want to boil it up a little bit in the kettle first, then go for it, otherwise it feels like it takes forever to warm up). Pop your pot in the pan and stick it on a medium heat, you want the water under a simmer, not a boil, if your pot of choice is touching the bottom of the saucepan.
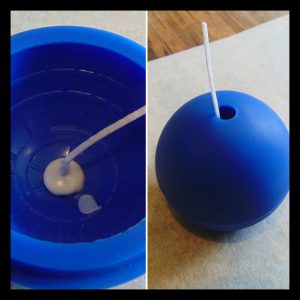
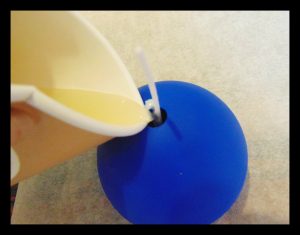
4. While the wax is melting, lay out your greaseproof paper on a clear surface, either next to or near the cooker, this’ll protect your surfaces from any spillages. To attach the wick, open up your Death Star mould, and, moving fairly quickly, dunk the base of the wick in the melted wax then press it in the middle of the bottom half. This won’t stay once the rest of the wax hits it, but it keeps it stuck enough to be able to attach the two halves together.
5. Once your wax seems to be all melted, give it a few stirs with your stick just to make sure no lumps are loitering about, (a note for fellow glasses wearers – don’t lean over the pot to check for wax lumps, the steam build up means you won’t see them even if they are there). If you’re not using a jug then carefully, using a teatowel or over mitt, transfer the wax into your pouring cup.
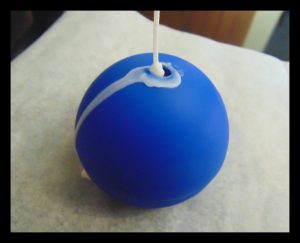
6. This is the part where you’ll want to move quickly and carefully. With your cup start filling the mould.
7. If it doesn’t quite fill to the top, don’t worry, just melt a bit more wax. Don’t forget to scrape any cooled wax from your pouring cup first, it might be just enough to reach the top.
8. Now comes the hard part, if you’re anything like me. Put your mould somewhere that it won’t get knocked and leave. it. alone. Don’t touch it, don’t look at it, don’t even think about it. Go do the chores you’ve been avoiding, or have a go at another craft project, just something to stop your fingers from wanting to find out if it’s set yet.
9. After about 2 hours you should definitely be safe to check it, maybe even sooner, but I didn’t want to push my luck, just in case. Carefully separate the top half of the mould, squeak happily like I did if it looks better than you anticipated, then peel off the bottom half.
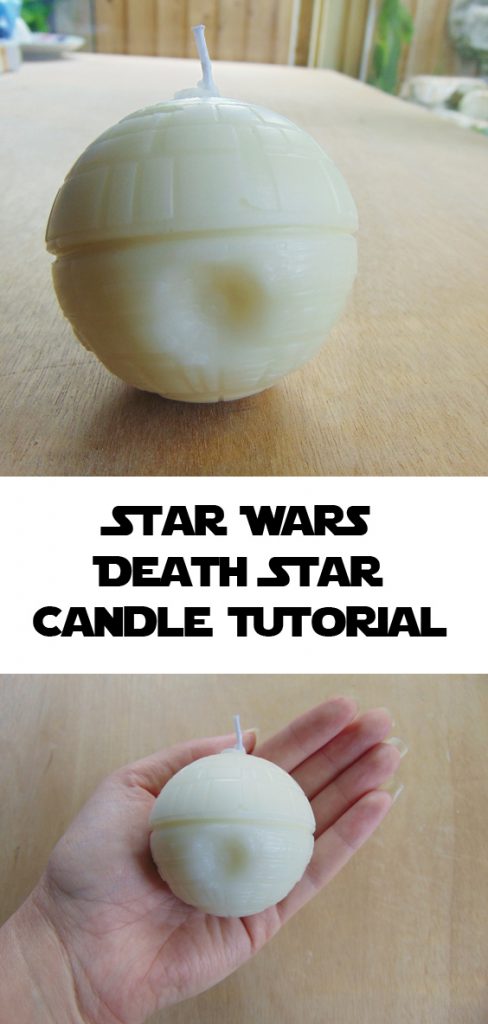
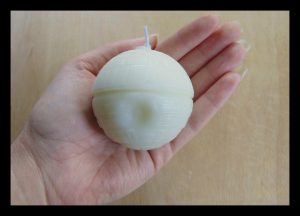
10. Trim the wick to a more acceptable length and voila! Your Death Star is complete and fully operational!
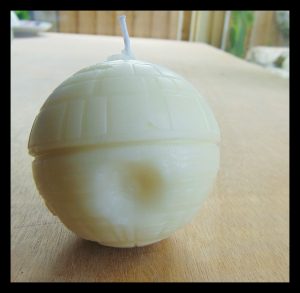
Ok, so the Death Star is technically upside down, and I had a bit of sinking inside of it.
But for a first attempt, I think I did pretty good.
I’ll have a play about and maybe in the future I’ll post about how you can have an upright Death Star candle.
In the meantime, these’ll make perfect gifts for Star Wars fans, and I’m sure you’ll know at least one. So have fun making your own Death Star, and let me know how it goes?